
Reading a Stud Finder (And What to Do When You Don't Have One)
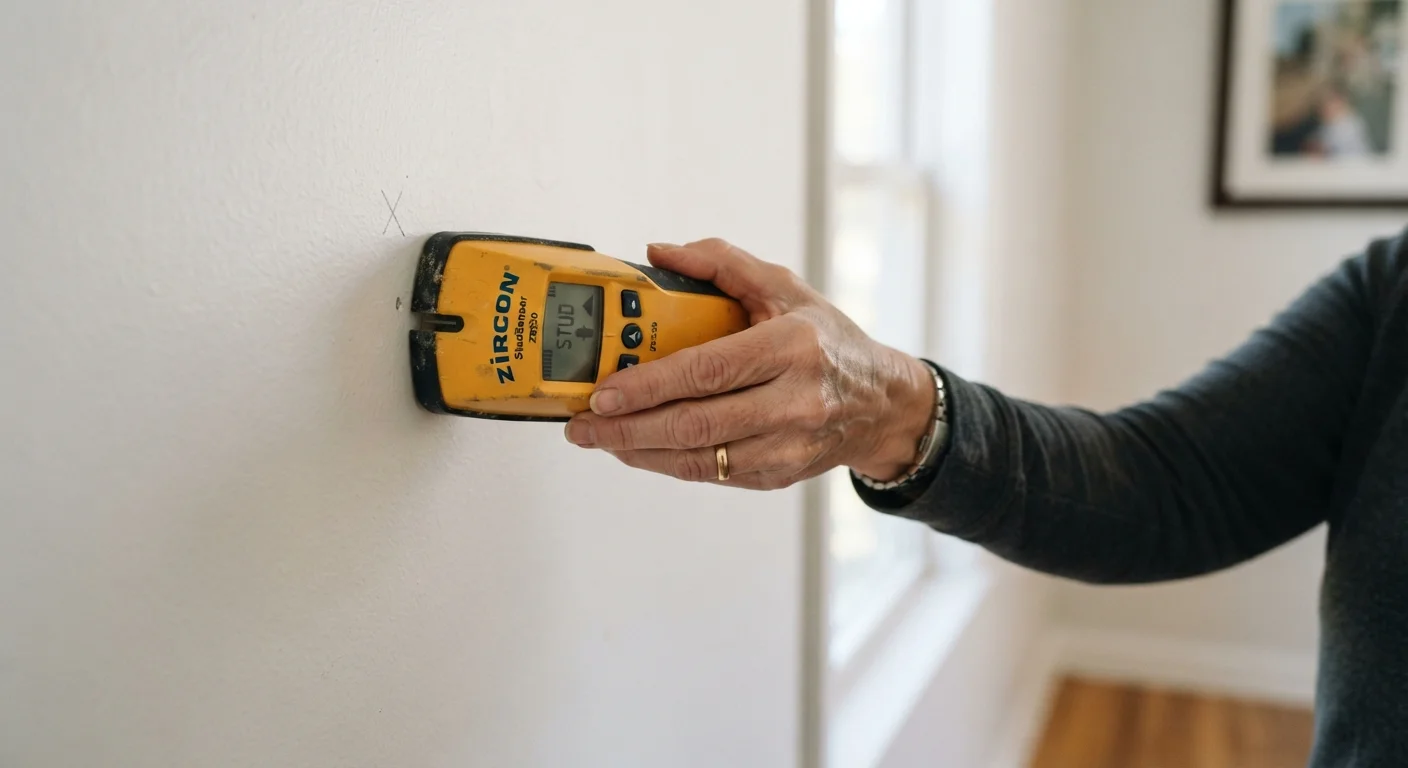
Photo credit: readerspanel.com
In this article
Stud finders aren't foolproof. Learn how they work, common reasons they misread walls, and reliable manual methods for finding studs.
Key Takeaways
- Most stud finders work by detecting density changes or magnetic fasteners behind drywall.
- Tile, plaster, thick paint, and moisture can all cause stud finders to misread.
- Manual methods like tapping, measuring from corners, and using a magnet are reliable backups.
- Studs in US homes are typically spaced 16 or 24 inches apart, center to center.
- Confirming a stud location with a small test nail before driving a large fastener prevents costly mistakes.
How stud finders actually work
Most consumer stud finders fall into two categories: magnetic and electronic.
Magnetic stud finders contain a small magnet that detects metal fasteners, typically screws or nails, driven through drywall and into studs during installation. They are simple, require no batteries, and are not affected by interference. The trade-off is that they find the fastener, not the stud edge, so results can be slightly off-center.
Electronic stud finders use capacitive sensors to measure changes in wall density. When you press one against drywall and slide it across, the tool compares the capacitance of the air gap and paper facing to the denser wood behind. It signals when density increases. Higher-end models add AC detection to sense live electrical wiring, which is a useful safety feature before drilling.
Both types require calibration at the start of each scan. With an electronic model, you press the button while the sensor sits on an open section of wall, giving it a baseline reading. If you happen to start calibrating directly over a stud, the tool treats that density as normal and may miss that stud entirely.
For a broader introduction to the tools used in common repairs, see the beginner's guide to home repair.
Common reasons stud finders misread walls
A stud finder that seems to find studs everywhere, or nowhere, is usually responding to something real in the wall. Understanding the causes helps you interpret the signals more accurately.
- Plaster walls: Older homes with plaster over wood or metal lath have a much denser wall layer than drywall. Electronic stud finders often read the entire surface as a stud. A magnetic finder focused on screws or nails performs better here.
- Tile and multiple drywall layers: Bathroom and kitchen tiles add thickness and density that confuse capacitive sensors. The same problem occurs when someone has drywalled over an existing layer.
- Moisture: Water in the wall from a recent repair, high humidity, or a slow leak increases capacitance and can mimic the signature of a framing member.
- Dense paint or wallpaper: Several layers of oil-based paint or thick wallpaper add enough mass to produce false positives on the sensor.
- Metal pipes and conduit: These register strongly on both magnetic and electronic finders. A reading that runs horizontally across the wall is more likely a pipe than a stud.
Slow down your scan for better accuracy
When a stud finder gives inconsistent results, reduce your scan speed significantly. Many errors come from moving the tool too quickly across the wall surface. Applying steady, even pressure throughout the scan also helps the capacitive sensor maintain consistent contact with the wall.
When a stud finder gives inconsistent results, slow your scan speed significantly. Many errors come from moving the tool too quickly across the wall surface.
Manual methods when you don't have a stud finder
These techniques have been used by carpenters long before electronic tools existed, and they remain accurate when applied carefully.
Measure from a corner
Interior framing typically starts with a stud at or very near each corner. Measure 16 inches from an inside corner along the wall. Mark that point, then continue marking every 16 inches. If your marks don't land on studs, try 24-inch intervals. Note that the measurement is center to center, so your first stud may be at 15.25 inches if it starts flush with the corner framing.
Tap along the wall
Use your knuckles to knock lightly across the wall surface in a horizontal line. Drywall over open cavity sounds hollow and resonant. Over a stud, the sound becomes noticeably flatter and more solid. Practice on a section where you already know stud location to train your ear before relying on this method for precision work.
Use a strong magnet
A rare-earth (neodymium) magnet slid slowly along the wall at a consistent height will pull noticeably when it passes over a drywall screw or nail head. Once you find one fastener, move the magnet 6 to 8 inches higher and look for another directly above. A vertical line of fasteners confirms stud location reliably.
Confirm before committing
Whichever method you use, drive a small finish nail at your marked location before using a larger fastener. If the nail meets resistance and holds, you've found solid wood. If it slides in freely with no resistance, you've hit open cavity and need to adjust.
Putting it together for a reliable result
No single method is perfectly reliable on every wall type, so combining two approaches gives you much stronger confidence. Use a stud finder to get an approximate location, then confirm with a magnet or test nail before committing to a large fastener or anchor.
Mark both edges of the stud, not just the center. An electronic stud finder typically shows where density begins and ends. The center of the stud sits halfway between those two edge readings. Driving your fastener into the center reduces the chance of the screw pulling out at an angle through the narrow edge of the wood.
Before drilling anything deeper than an inch, identify where your electrical panel circuits run and check for outlet proximity. If you are working near an outlet, turn off the circuit first. For walls with in-wall plumbing or gas lines, consult a licensed plumber or contractor before drilling.
Reading stud finders accurately is one of those skills that improves quickly with practice. Once you understand why a tool behaves a certain way, the signals become easier to interpret rather than frustrating to guess at.
Frequently Asked Questions

Author
Home & Garden Editorial Team
Home & Garden Editorial Team is the collective byline for our editorial team and contributor network. Articles published under this byline or an editorial pen name are researched, written, and reviewed according to our editorial standards for clarity, consistency, and independence before publication.
View all articles →