
Fixing a Leaky Faucet Without Calling a Plumber
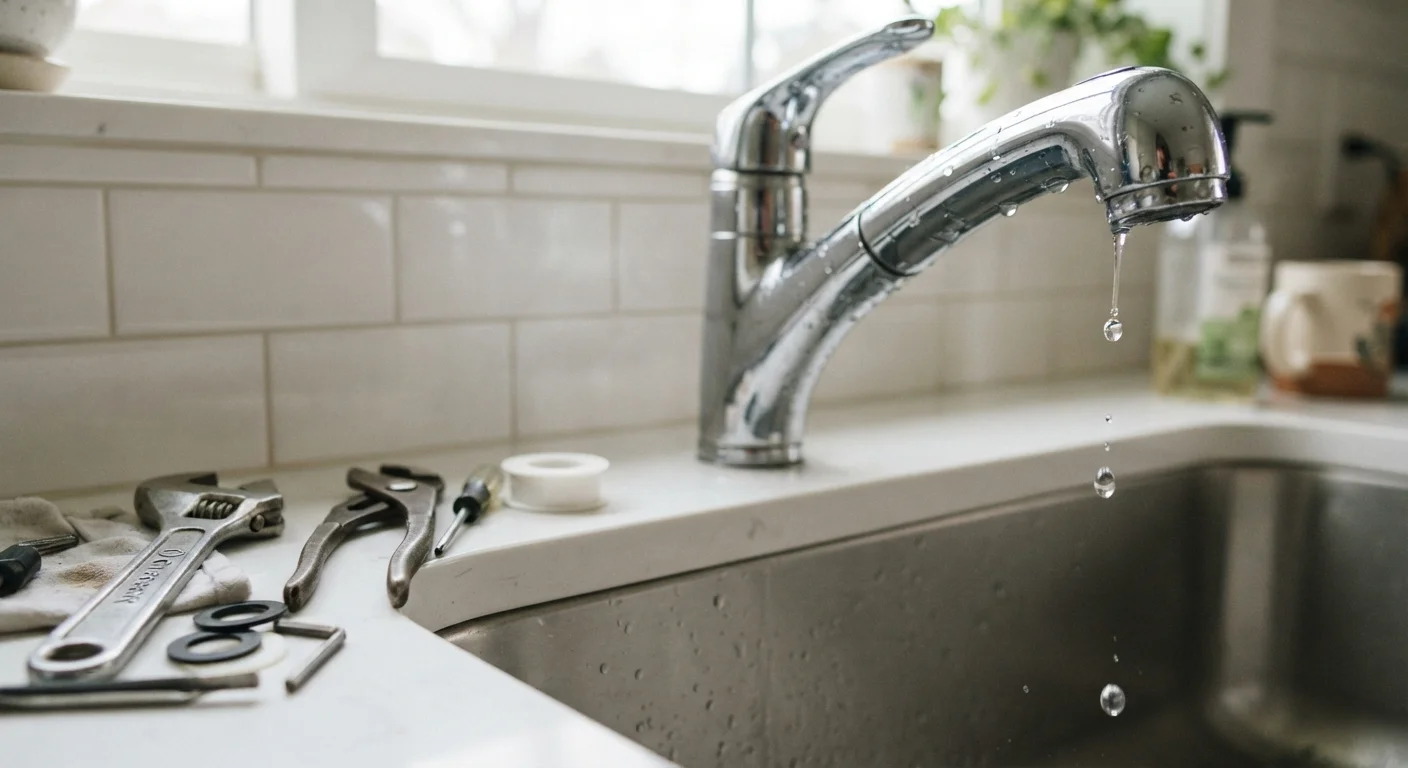
Photo credit: readerspanel.com
In this article
Most dripping faucets come down to a worn washer or O-ring. This step-by-step walkthrough covers ball, cartridge, and compression faucet types.
Key Takeaways
- Most dripping faucets fail because of a worn washer, O-ring, or cartridge seat.
- Identifying your faucet type (ball, cartridge, or compression) determines which parts you need.
- Shutting off the water supply before disassembly is the single most important safety step.
- Replacement parts are widely available at hardware stores and are inexpensive.
- Knowing your pipe material before you start can prevent accidental damage during repair.
Why faucets drip and what it costs you
A faucet that drips once per second wastes roughly 3,000 gallons of water per year, according to the U.S. Environmental Protection Agency. Beyond the water bill, constant dripping accelerates corrosion inside the valve body and can stain sinks over time.
The underlying cause is almost always a worn or hardened sealing component. In a compression faucet, that component is a rubber washer pressed against a metal seat each time you turn the handle. In a ball faucet, small rubber seats and springs inside a rotating ball wear out. In a cartridge faucet, the cartridge itself (a self-contained plastic or brass cylinder) degrades and allows water to bypass the seal.
Before you begin any repair, it is worth knowing what pipe material runs to your fixture. Pipe type affects how you handle fittings and shutoff valves, so a quick look under the sink before you reach for a wrench can prevent a bigger problem.
Tools and parts you will need
Gather everything before you shut off the water. Hunting for a part mid-repair with water dripping is avoidable.
Adjustable wrench
Loosens and tightens packing nuts and supply line fittings.
Phillips and flathead screwdrivers
Removes handle screws and pries off decorative caps.
Needle-nose pliers
Grips small internal components such as ball faucet springs and seats.
Replacement washer or cartridge kit
Provides the new sealing components matched to your faucet model.
Plumber's grease (silicone-based)
Lubricates O-rings and rubber parts before reassembly to extend their life.
Bucket or towels
Catches residual water when the faucet is disassembled.
Penetrating oil
Loosens corroded or overtightened packing nuts before disassembly.
Take photos of your faucet handle and the brand name stamped on the body before going to the hardware store. Staff can match the correct replacement cartridge or washer kit to your model.
Step-by-step repair instructions
The sequence below applies to all three common faucet types. Notes on type-specific differences appear within each step.
Shut off the water supply
Locate the shutoff valves under the sink (one for hot, one for cold) and turn them clockwise until they stop. If there are no under-sink valves, shut off the main supply to the house. Turn the faucet handle on to release pressure and drain residual water from the lines. Place a bucket or folded towel beneath the work area.
Remove the handle
Pry off the decorative cap on top of the handle with a flathead screwdriver to expose the retaining screw. Remove the screw (usually Phillips head) and pull the handle straight up. If it resists, wiggle it gently side to side rather than forcing it upward, which can crack the handle body.
Access and remove the valve component
Compression faucet: Use an adjustable wrench to unscrew the packing nut. Lift out the stem. At the bottom of the stem, a rubber washer is held by a brass screw. Remove the screw and pull off the old washer.
Ball faucet: Loosen the setscrew on the handle collar, then unscrew the cap and collar. Use needle-nose pliers to lift out the ball, the two rubber seats, and the two small springs beneath them. Note the orientation of the ball's slot before removing it.
Cartridge faucet: Remove the retaining clip or nut holding the cartridge in place, then pull the cartridge straight up. Some cartridges require a cartridge puller tool for firm-fit models.
Inspect and replace the worn parts
Examine the removed component. A rubber washer that is flattened, cracked, or has a groove worn into it must be replaced. O-rings showing tears or hardening also need replacement. For ball faucets, replace the seats and springs as a set even if only one looks worn; they wear at similar rates. For cartridges, replacing the whole cartridge is more reliable than trying to rebuild it.
Match the new washer or O-ring to the old one by diameter and thickness. Apply a thin coat of silicone-based plumber's grease to any rubber component before fitting it.
Reassemble and test
Reverse the disassembly sequence. Tighten the packing nut or retaining clip snugly but not with heavy force; overtightening can crack plastic components or deform soft washers. Reattach the handle and screw in the retaining screw.
Slowly reopen the shutoff valves under the sink. Turn on the faucet, then turn it off and check for drips at the spout and for seepage around the base of the handle. If a slow drip continues, the valve seat may need resurfacing (see the section below on when to call a professional).
When to stop and call a professional
Some situations fall outside straightforward washer replacement. If the valve seat inside the faucet body is pitted or corroded, the drip will return even after you fit a new washer. A valve seat grinder (a specialty tool) can resurface mild damage, but significant corrosion usually means replacing the entire faucet body.
If you find active leaks at the supply line connections under the sink rather than at the spout, the fitting threads or compression rings may be compromised. This is a different problem from a dripping spout, and it can involve your home's main water lines. That category of repair shares some decision logic with knowing when moisture problems need a pro rather than a patch. When water is coming from somewhere you cannot see clearly, err toward calling a licensed plumber.
Permits and inspections are not typically required for faucet replacement, but any work that involves cutting into supply lines or relocating fixtures may need local approval. Verify requirements with your municipality before proceeding.

Author
Home & Garden Editorial Team
Home & Garden Editorial Team is the collective byline for our editorial team and contributor network. Articles published under this byline or an editorial pen name are researched, written, and reviewed according to our editorial standards for clarity, consistency, and independence before publication.
View all articles →