
Weatherstripping Your Doors and Windows: A Season-by-Season Maintenance View
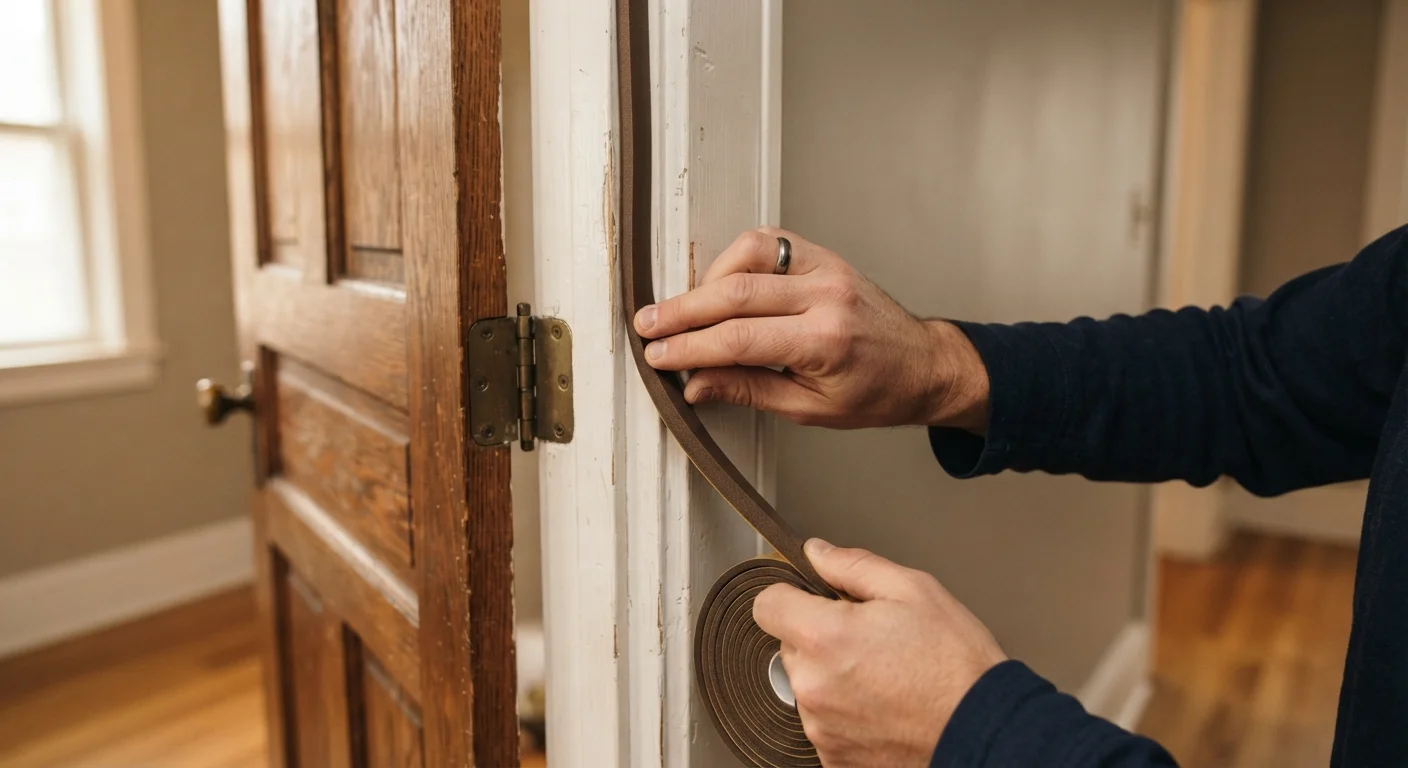
Photo credit: readerspanel.com
In this article
Drafty doors and windows strain your HVAC system year-round. Learn how weatherstripping works, when it fails, and how to replace it yourself.
Key Takeaways
- Weatherstripping degrades at different rates depending on material type and seasonal exposure.
- Inspect seals at least twice a year, ideally before heating and cooling seasons begin.
- Foam tape, V-strip, door sweeps, and reinforced silicone each suit different gap types.
- A simple paper or candle test can confirm whether existing weatherstripping has failed.
- Proper surface prep before installation determines how long a new seal lasts.
Why weatherstripping fails and when to check it
Weatherstripping is the flexible sealing material installed around door and window frames to block outside air, moisture, dust, and insects. Over time, compression, UV exposure, and temperature swings break down even well-installed seals. When a seal fails, your HVAC system works harder to compensate for conditioned air that is leaking out, and unconditioned air that is seeping in.
Two inspection windows per year make sense for most US climates. The first is late summer or early fall, before heating loads increase. The second is late spring, before cooling loads rise. During each check, look for visible cracking, flattening, or gaps in the seal. Then run either a paper test (close a door on a sheet of paper and try to pull it free without opening the door) or hold a lit candle near the frame on a windy day and watch for flame movement. Either method reliably shows whether air is bypassing the seal.
For door hardware context that affects how squarely a door closes, see the door hinges, strikes, and latches reference guide, since a misaligned door can accelerate weatherstripping wear on one side unevenly.
When to inspect more often
Exterior doors on south- and west-facing walls receive more direct sun and UV exposure than other sides of a home. Check the weatherstripping on those doors every spring, even if the rest of the house passes its annual inspection. Heat and UV together degrade foam and rubber faster than cold alone.
Choosing the right weatherstripping material
The correct material depends on where the gap is, how large it is, and how much friction or compression the seal will experience.
- Foam tape (open- or closed-cell): suits low-traffic windows and the top and hinge sides of doors. Inexpensive and easy to apply, but typically lasts two to five years before compression sets in permanently.
- V-strip (tension seal): a folded plastic or metal strip that springs open to fill a gap. Works well along the sides of doors and double-hung windows. More durable than foam tape and tolerates repeated opening and closing.
- Door sweeps: mounted to the bottom of the door to seal the gap between door and threshold. Available in aluminum with a rubber or brush insert. Required whenever the gap at the base is more than 1/8 inch.
- Reinforced silicone or EPDM bulb seals: installed in door stop molding for high-traffic exterior doors. These are the most durable option and can last a decade or more with proper installation.
Avoid mixing materials on the same door frame. Mismatched compression rates create uneven contact and let air through at transition points.
How to replace weatherstripping step by step
Before purchasing new material, measure the full perimeter of each door or window frame, then add 10 percent for waste. Bring a sample of the old weatherstripping to the hardware store if you are unsure which profile fits the existing channel.
Remove old weatherstripping and clean the surface
Peel or pry off the existing material. Foam tape leaves adhesive residue; remove it with rubbing alcohol or an adhesive remover rated for the frame material (wood, aluminum, or vinyl). Let the surface dry completely. Any remaining adhesive or moisture will prevent a new seal from bonding correctly.
Measure and cut new material
Measure each side of the door or window opening separately. Weatherstripping compresses differently at corners, so cut each piece to fit its own run rather than guessing from one measurement. For V-strip, cut the corners at 45 degrees for a tighter fit. For foam tape, cut straight across at each corner and butt the pieces together.
Install the new seal
For adhesive-backed foam or V-strip, start at one corner and press firmly along the entire run, maintaining consistent contact. For V-strip installed in a channel or nailed in place, use the manufacturer's recommended fasteners and space them no more than 2 inches apart to prevent the strip from pulling away under wind pressure. For door sweeps, hold the sweep against the door bottom, mark the screw holes, drill pilot holes, and fasten securely. The sweep should make light contact with the threshold when the door is closed, without creating drag that strains the hinges.
Test the seal and adjust
Close the door or window and repeat the paper test. The paper should offer clear resistance when you try to pull it free. Check all four sides of the frame, not just the latch side. If one side passes and another does not, the frame may be slightly out of square. A thin shim behind the weatherstripping on the loose side can compensate without replacing the entire run.
Seasonal maintenance calendar
Weatherstripping care does not end after installation. Each season brings a different stress on the material.
| Season | Task |
|---|---|
| Late summer | Full inspection before heating season; replace any flattened foam |
| Fall | Install door sweeps if gaps at thresholds have grown |
| Winter | Check for frost or condensation inside frames, which signals air infiltration |
| Spring | Clean all seals with mild soap and water; check for UV cracking on south-facing doors |
Frost inside a door frame or window sash almost always means the seal has failed or was never seated properly. Address it before spring humidity arrives, since moist warm air entering a cold cavity can cause mold in the framing.

Author
Home & Garden Editorial Team
Home & Garden Editorial Team is the collective byline for our editorial team and contributor network. Articles published under this byline or an editorial pen name are researched, written, and reviewed according to our editorial standards for clarity, consistency, and independence before publication.
View all articles →