
Making a Small Living Room Feel Larger Without Knocking Down Walls
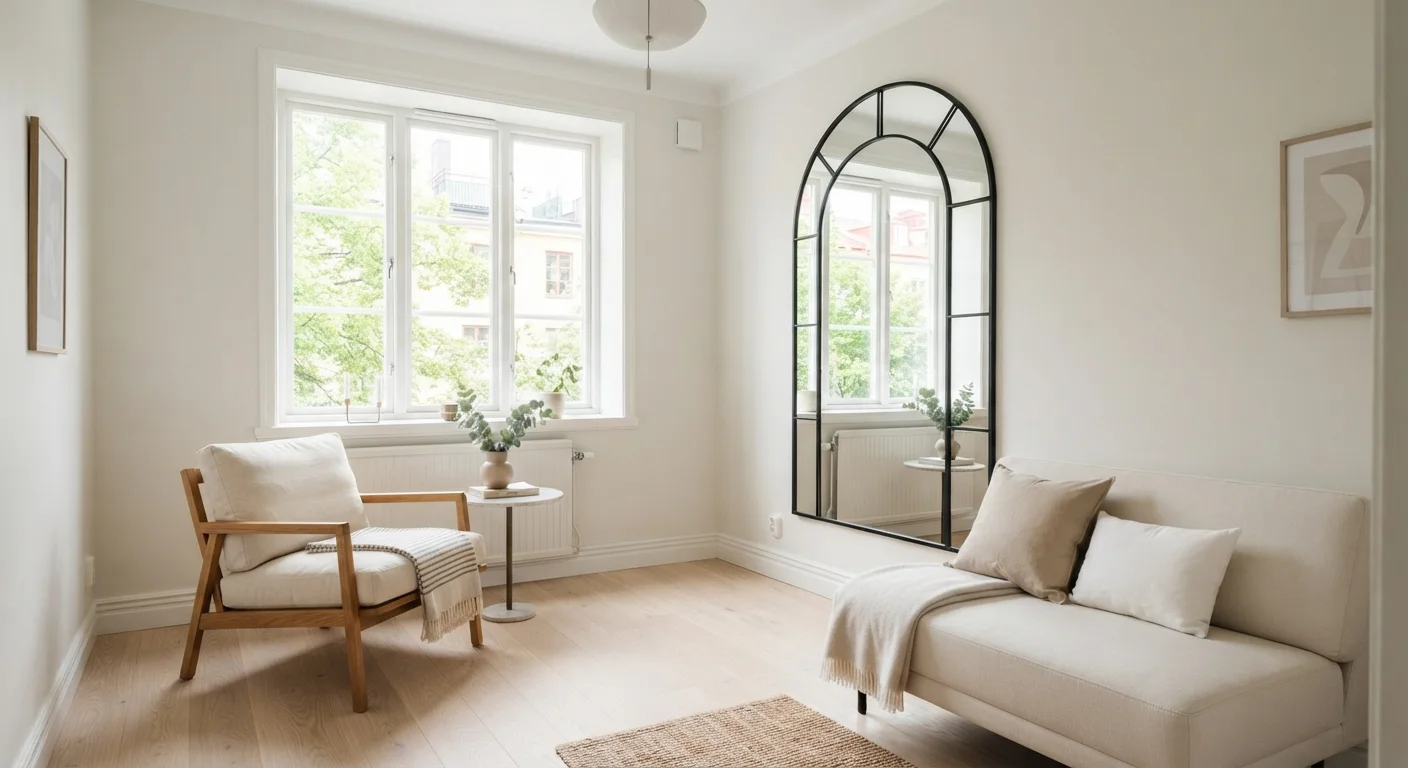
Photo credit: readerspanel.com
In this article
Practical layout, lighting, and color tricks that visually expand a cramped living room without any major renovation.
Key Takeaways
- Light wall colors and consistent flooring visually push walls outward and reduce visual clutter.
- Furniture scale matters more than furniture count; one oversized sofa can shrink a room faster than several small pieces.
- Mirrors placed opposite windows multiply natural light and create the illusion of depth.
- Vertical lines draw the eye upward, making ceilings feel higher without any structural change.
- Keeping pathways clear of furniture legs and cords is the fastest single fix for a cramped feel.
Why small rooms feel smaller than they are
A living room's perceived size rarely matches its measured dimensions. Color, light, furniture arrangement, and clutter all bend how the brain reads the space. A 250-square-foot room with dark walls, oversized furniture, and a blocked window can feel tighter than a 180-square-foot room with pale walls, scaled furniture, and good natural light. Most of the changes that fix this cost little or nothing beyond time and effort.
The steps below address the four main levers: color and light, furniture scale and placement, mirrors, and vertical proportion. You do not need to tackle all of them at once. Even applying two or three will produce a noticeable difference.
What you will need
What you will need before you start
Tape measure
Measure wall lengths, furniture footprints, and clearance paths before committing to any layout.
Graph paper or free floor-plan app
Map furniture to scale so you can test arrangements without moving heavy pieces repeatedly.
Paint samples or peel-and-stick swatches
Test wall colors in your actual lighting before purchasing full quantities of paint.
Level and picture hooks
Hang mirrors and artwork at precise heights to control sightlines.
A tape measure is the single tool that prevents the most common small-room mistake: buying or keeping furniture that does not fit the space proportionally. Measure before you move anything.
Step-by-step changes that open up the space
Clear the floor and take an honest inventory
Remove everything movable from the room: rugs, side tables, decorative objects, and any furniture you are not committed to keeping. Look at the bare floor and walls. Note where natural light enters and which walls feel cramped versus open. This reset gives you an accurate picture of the room's actual proportions rather than its current, possibly crowded, arrangement.
Choose a wall color that reflects light
Light, cool, or neutral tones on walls recede visually, creating the impression of more space. Soft whites, warm off-whites, pale grays, and muted sage greens all perform well in this role. The finish matters too: a matte or eggshell finish minimizes shadows and small imperfections, keeping surfaces visually calm. Test at least two samples on the actual wall at different times of day before committing, because artificial and natural light change a color's character significantly.
If you want an accent wall, place it on the wall farthest from the entry point so it reads as depth rather than a barrier. For more guidance on where accent walls help and where they work against a room, see this breakdown of accent wall placement.
Select and position furniture at the right scale
Each piece of furniture should be proportional to the room, not to a larger space you wish you had. A deep, wide sectional sofa that works in a 20-by-20-foot family room will consume most of a 12-by-14-foot living room. Measure your available floor area first, then choose furniture whose footprint leaves at least 30 to 36 inches of clear walking path on the main traffic route.
Float furniture slightly away from walls rather than pushing every piece flush against the perimeter. Counter-intuitive as it sounds, a few inches of space behind a sofa reads as breathing room and prevents the room from feeling like a waiting area. Furniture with legs, rather than pieces that sit directly on the floor, lets light travel underneath and keeps the visual field open.
Use mirrors to add depth and light
A mirror placed opposite or at an angle to a window reflects natural light back into the room and creates a visual extension of the space. The larger the mirror, the stronger the effect. A floor-to-ceiling or full-wall mirror on one side of the room can convincingly double the perceived depth. Lean a large mirror against a wall rather than hanging it if you prefer flexibility or want to avoid patching nail holes later.
Where you place a mirror determines what it reflects. A mirror that reflects a cluttered corner or a blank wall adds little. Aim it at a window, a well-arranged shelf, or greenery. Placement principles for mirrors covers this in more detail if you want to plan the sightlines carefully before buying.
Manage vertical lines to raise the perceived ceiling
Curtains hung close to the ceiling and dropped to the floor are one of the most cost-effective changes in this category. The curtain rod should sit 4 to 6 inches below the ceiling, not just above the window frame. This treatment draws the eye up along the full wall height before it reaches the window, making ceilings feel taller. Use curtains in a color close to the wall color so the window treatment recedes rather than interrupts.
Bookshelves that reach toward the ceiling and vertical shiplap or board-and-batten paneling work the same way. If you plan to hang artwork, consider a vertical arrangement or a single tall piece rather than a wide horizontal grouping, which spreads the eye sideways. For horizontal gallery arrangements that still work in tight spaces, this gallery wall guide walks through spacing that avoids a crowded look.
Control clutter with built-in and hidden storage
Visible clutter on surfaces contracts perceived space more than almost any other factor. Use furniture with built-in storage: ottomans with lids, media consoles with doors, coffee tables with lower shelves. Keep tabletop surfaces to a few deliberate objects rather than a collection of miscellaneous items. A consistent, minimal surface display reads as order, and ordered rooms feel larger than cluttered ones of identical dimensions.
Route cables out of sight. Cord clips along baseboards or a simple cable box under a console cost very little and remove one of the most persistent sources of visual noise in a living room.
Consistent flooring across the whole room helps
If your living room has mixed flooring, such as part hardwood and part tile, the boundary line interrupts the floor plane and visually cuts the room in half. A large area rug that bridges the transition can reduce this effect without requiring any flooring work. Where the floor is consistent throughout, avoid rugs that are too small for the seating group, as undersized rugs fragment the floor into pieces.
Common mistakes that undo the work
Matching all furniture to the same heavy wood finish creates visual weight even when individual pieces are reasonably sized. Mixing one or two lighter materials, such as glass, light-stained wood, or metal, breaks that mass up without requiring new purchases in most cases.
Overhead lighting alone, particularly a single ceiling fixture centered in the room, creates a flat light field that flattens space. Adding floor lamps or wall sconces at varying heights creates depth through shadow and gradient. A room with multiple light sources at different levels reads as larger than one with a single bright overhead fixture.
Finally, too many small decorative objects scattered across surfaces produce noise. Grouping objects in one deliberate spot and leaving other surfaces clear does more for the room than any individual piece of decor could.

Author
Home & Garden Editorial Team
Home & Garden Editorial Team is the collective byline for our editorial team and contributor network. Articles published under this byline or an editorial pen name are researched, written, and reviewed according to our editorial standards for clarity, consistency, and independence before publication.
View all articles →