
Grouting Tile: The Steps Most DIYers Rush Through
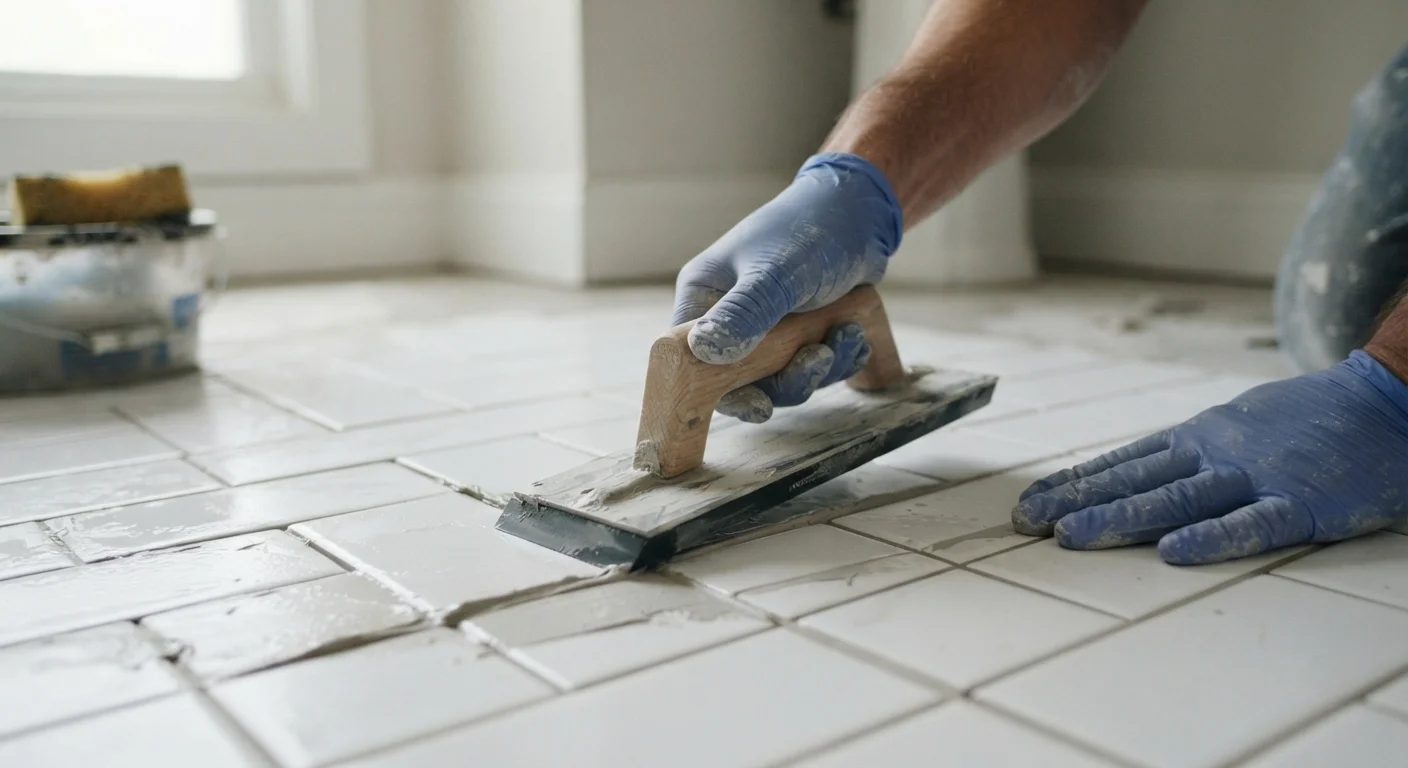
Photo credit: readerspanel.com
In this article
Rushing the grout cure or skipping the float angle causes crumbling joints. Learn the correct sequence and timing for a lasting tile grout job.
Key Takeaways
- Tile must be fully set and adhesive cured before any grout is applied.
- Holding the float at 45 degrees packs grout into joints without dragging it back out.
- Wiping too soon or too late causes haze that is difficult to remove without damage.
- Grout needs 24 to 72 hours of cure time before exposure to water or foot traffic.
- Skipping sealant on sanded grout leaves joints open to staining and crumbling.
Why grout joints fail before they should
Crumbling grout lines are almost never a material defect. The grout itself is fine. The failure traces back to a skipped step or incorrect timing somewhere in the application process. Most problems fall into three categories: applying grout before the tile adhesive has fully cured, working the float at the wrong angle, or cleaning up too early and pulling uncured grout from the joints.
If you have an individual tile that moved or cracked rather than a grout failure, replacing a single tile is a separate process worth reviewing before you start grouting over a loose substrate.
The correct sequence for grouting tile
Follow these steps in order. Changing the sequence to save time is where most grout jobs go wrong.
Once the grout has cured for the full manufacturer-specified period, typically 48 to 72 hours for cement-based grouts, apply a penetrating grout sealer. Roll or brush it into the joints, allow it to penetrate for the time listed on the product label, then wipe the excess from the tile face. Skipping this step on sanded grout leaves a porous surface that absorbs cooking grease, soap, and mineral deposits permanently.
Mixing grout to the right consistency
Grout consistency is one of the most ignored variables. Too much water makes the mixture weak and prone to shrinkage cracks as it dries. Too little water makes it stiff and hard to work into narrow joints. Aim for a peanut butter texture: the mixture holds its shape when you press it against the side of the bucket but spreads without tearing.
Add water in small amounts and mix for two to three minutes. Then let the batch rest, or "slake," for five to ten minutes before mixing briefly again. Slaking lets the dry ingredients fully hydrate, which improves workability and final strength. Do not skip this rest period, and do not add more water after slaking.
Timing the cleanup correctly
After spreading grout across a section, the surface needs to firm up before you wipe. If you clean too early, the sponge pulls grout out of the joints. If you wait too long, the haze hardens into a film that requires chemical removal or abrasive pads.
Watch for the grout surface to lose its wet sheen and look slightly matte. Press a clean finger lightly into a joint: if no grout sticks to your finger, the timing is right. Wring the sponge nearly dry, wipe in diagonal strokes across the joints rather than along them, and rinse the sponge in clean water after every one or two passes. Multiple light passes cause less damage than one heavy scrub.

Author
Home & Garden Editorial Team
Home & Garden Editorial Team is the collective byline for our editorial team and contributor network. Articles published under this byline or an editorial pen name are researched, written, and reviewed according to our editorial standards for clarity, consistency, and independence before publication.
View all articles →