
Tile Repair Without Redoing the Whole Floor
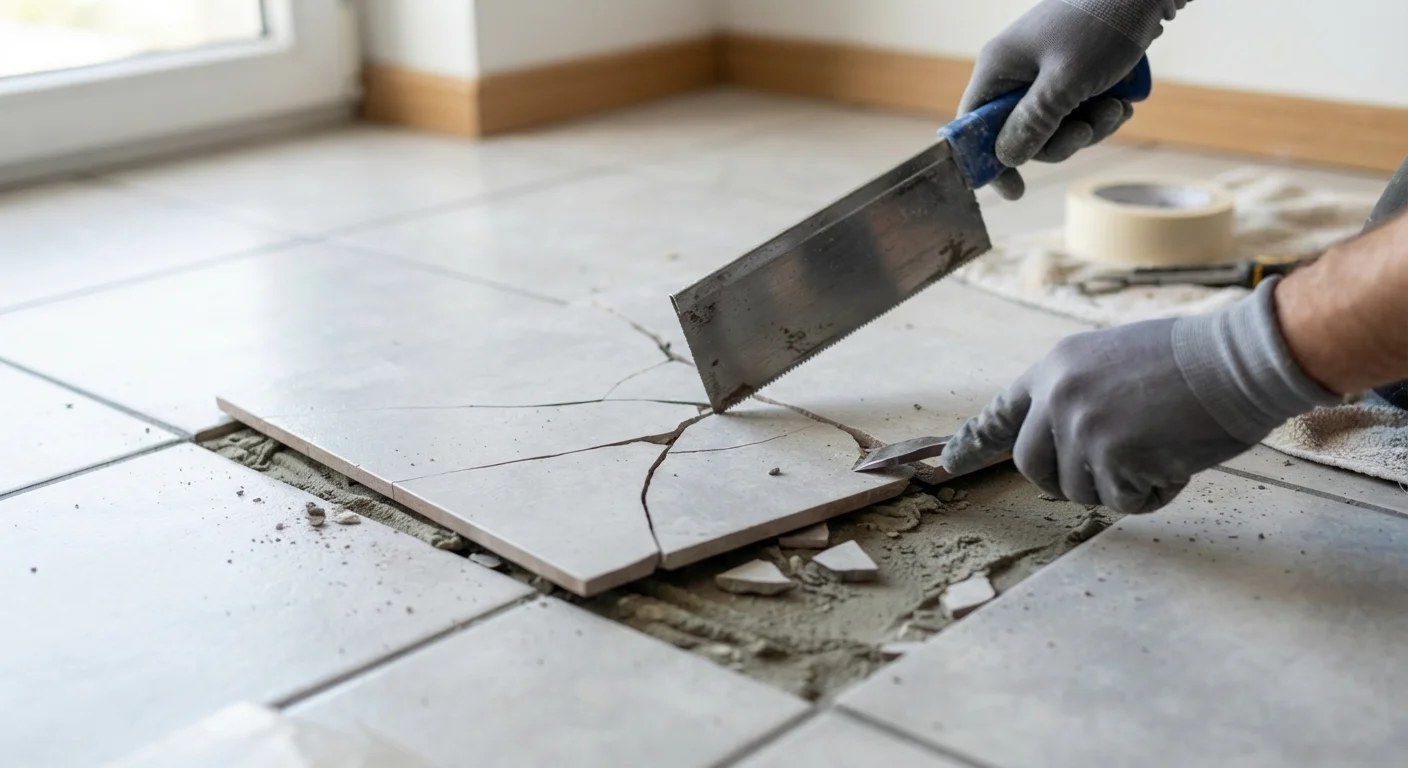
Photo credit: readerspanel.com
In this article
A cracked or hollow tile doesn't mean a full regrout job. Walk through how to remove a single tile cleanly and set a replacement in place.
Key Takeaways
- A single cracked or hollow tile can be replaced without removing the surrounding floor.
- Cutting out old grout before prying the tile prevents cracking adjacent tiles.
- The replacement tile must match the original thickness to sit flush with the floor.
- Full adhesive coverage on the back of the tile prevents future hollow spots.
- New grout must cure fully before foot traffic resumes, typically 24 to 72 hours.
Why a single tile repair is possible
Floor tiles fail for several reasons: heavy impact, a void in the mortar bed beneath, or seasonal movement in the subfloor. When only one or two tiles are affected, the repair is contained. The surrounding tiles and their grout joints act as the boundary, and the job reduces to three tasks: remove the damaged tile cleanly, set a matching replacement with solid adhesive contact, and regrout the joints around it.
The most common mistake homeowners make is skipping the grout removal step and going straight at the tile with a hammer. That approach transfers shock to adjacent tiles and frequently cracks them. Taking 20 minutes to score the grout first protects the floor you are keeping.
Grout saw or oscillating multi-tool
Cuts out old grout from the joints around the damaged tile without cracking adjacent tiles.
Cold chisel and hammer
Fractures and removes the damaged tile in controlled pieces.
Floor scraper or stiff putty knife
Removes old mortar from the substrate so the replacement tile sits flat.
Notched trowel
Spreads and combs thinset mortar to achieve consistent coverage beneath the tile.
Rubber mallet
Taps the tile into the mortar bed evenly without chipping the tile face.
Rubber grout float
Packs grout into the joints around the repaired tile at the correct angle.
Straightedge
Checks that the replacement tile is flush with the surrounding floor surface.
Tile spacers
Holds consistent joint width while the thinset sets beneath the replacement tile.
What you need before you start
Before ordering a replacement tile, check whether you have any leftover pieces from the original installation. If not, bring a removed fragment to a tile supplier. Match thickness, glaze finish, and color as closely as possible; even a near-match will be visible at the grout line if the shading is off.
What you will need
Confirm the subfloor is solid before you begin. Press on the area around the damaged tile. Any give or bounce suggests a subfloor problem that needs attention before the tile is reset, otherwise the new tile will fail the same way.
Step-by-step tile removal and replacement
Follow these steps in order. Each one prepares the surface for the next, and skipping ahead creates more work later.
Score the grout joints
Use a grout saw or oscillating multi-tool with a grout removal blade to cut along every joint surrounding the damaged tile. Work the full depth of the grout, which is typically 1/8 to 3/16 inch. Remove as much grout as possible from all four sides so the tile can be lifted without pulling on its neighbors.
Break and remove the damaged tile
Place a cold chisel at the center of the tile and strike it with a hammer to fracture the tile into pieces. Work from the center outward, removing fragments as you go. Avoid driving the chisel toward adjacent tiles. Use a margin trowel or putty knife to pry up stubborn pieces near the edges.
Clean the substrate
Scrape all old mortar or adhesive off the subfloor using a floor scraper or stiff putty knife. The surface must be flat and free of ridges; any high spot will cause the replacement tile to rock or crack. Use a straightedge across the opening to check for humps left by old thinset. Grind down any proud spots with a small angle grinder or diamond-cup wheel.
Set the replacement tile
Mix polymer-modified thinset mortar to a smooth, peanut-butter consistency. Spread it in the opening using the flat side of a notched trowel, then comb ridges with the notched side. Apply a thin skim coat to the back of the replacement tile as well. This back-buttering technique eliminates air pockets and gives the tile full contact with the mortar bed. Press the tile firmly into place and tap it level with a rubber mallet.
Check that the tile face is flush with the surrounding tiles using a straightedge. If it sits too high, press harder or remove a small amount of mortar. If it sits too low, remove the tile, add mortar, and reset it.
Grout the joints
After the thinset has cured, mix sanded grout for joints wider than 1/8 inch or unsanded grout for narrower joints. Match the grout color to the existing floor as closely as possible; bring a photo or a grout sample when purchasing. Pack the grout into all four joints using a rubber grout float held at a 45-degree angle, pressing it fully into the joint. Wipe excess grout from the tile face with a damp sponge before it hardens.
Once the grout has cured, the repair is complete. For a thorough look at grout timing and float technique, see our guide to grouting tile correctly, which covers the joints around a repaired tile in the same detail it gives a full floor installation.
Common problems during removal
Tiles bonded with epoxy mortar are significantly harder to remove than those set in standard thinset. If your chisel barely moves the tile after grout is fully removed, apply heat with a heat gun in slow passes. The adhesive softens enough to allow the tile to be pried free without gouging the subfloor.
Old vinyl or tar-based adhesive beneath a tile layer in older homes may contain asbestos-containing materials. If the subfloor beneath your tile has a black or dark brown mastic layer and the home was built before 1980, stop and consult a licensed abatement professional before disturbing it further. Do not sand, scrape, or dry-chip that layer.
Black mastic adhesive in older homes
Homes built before 1980 may have flooring adhesives that contain asbestos-containing materials. If you see a dark, tar-like layer beneath your tile, do not scrape, sand, or disturb it. Contact a licensed asbestos abatement professional for testing and safe removal before continuing the repair.

Author
Home & Garden Editorial Team
Home & Garden Editorial Team is the collective byline for our editorial team and contributor network. Articles published under this byline or an editorial pen name are researched, written, and reviewed according to our editorial standards for clarity, consistency, and independence before publication.
View all articles →