
Squeaky Floors: The Causes Behind the Noise and How to Silence Them
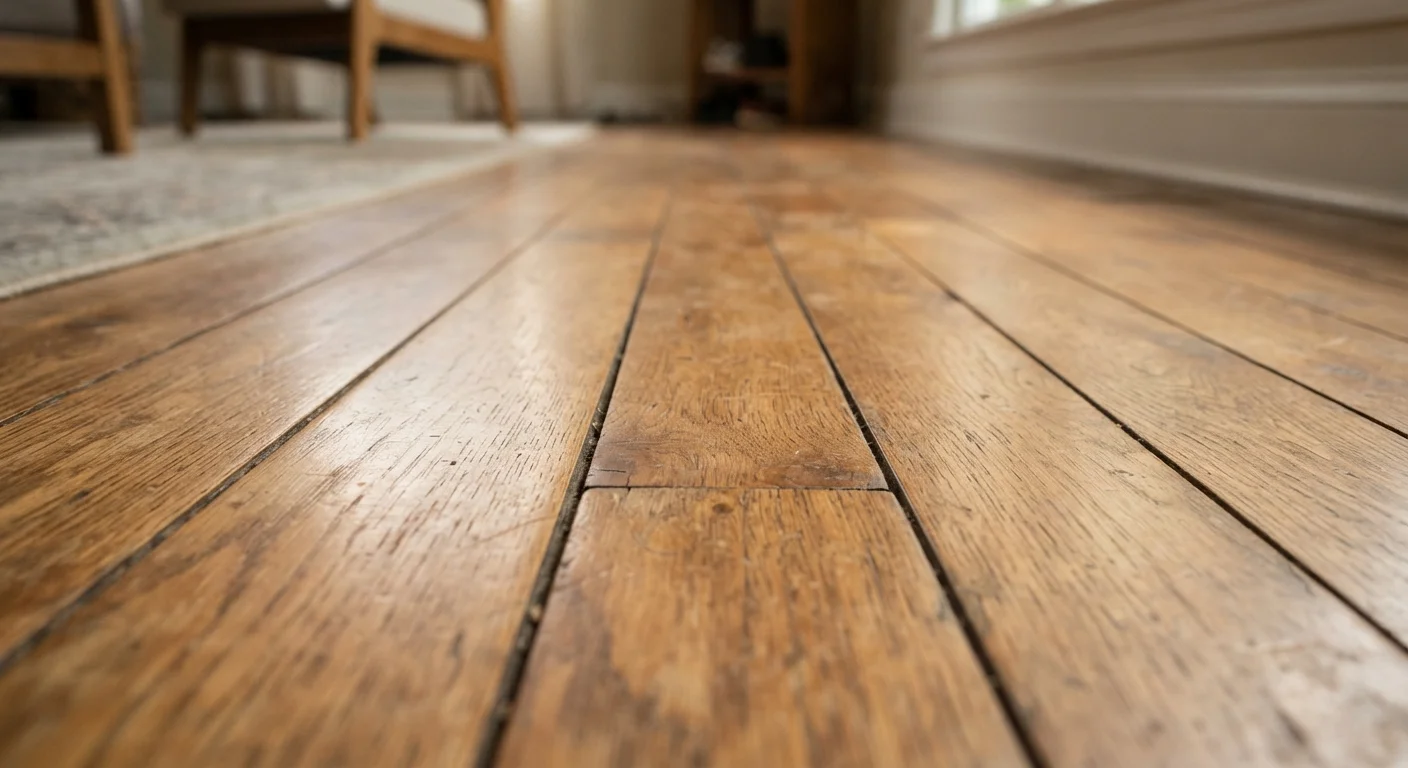
Photo credit: readerspanel.com
In this article
Squeaky floors are usually a fixable structural issue, not a sign of serious damage. Here's how to pinpoint the source and quiet it for good.
Key Takeaways
- Squeaky floors are almost always caused by wood rubbing against wood, nails, or subfloor materials.
- Pinpointing whether the squeak comes from above or below the floor determines which fix to use.
- Most squeaks can be repaired with basic tools and no floor removal.
- Repairs that involve cutting into joists or structural subfloor work should go to a licensed contractor.
Why floors squeak in the first place
Wood moves. It expands in humid months and contracts when the air dries out, and over years that cycling loosens the connections between floor planks, the subfloor beneath them, and the joists that carry everything. When two surfaces rub against each other under foot traffic, they produce the familiar creak.
The most common sources are:
- Hardwood planks rubbing against each other at the tongue-and-groove joint
- The subfloor (typically plywood or OSB) shifting against the floor joists because nails have backed out slightly
- Bridging or blocking between joists working loose over time
- A gap that has opened between the subfloor and a joist, so the subfloor flexes and springs with each step
A squeak almost never points to structural damage on its own. If you notice sagging, bouncy floors, or cracks running across multiple boards in one direction, have a structural professional evaluate the area before you attempt any repair.
Seasonal squeaks may self-correct
If your floor squeaks only in winter and quiets down in summer, low indoor humidity is likely pulling the wood apart temporarily. Running a humidifier to maintain indoor relative humidity between 35 and 55 percent can reduce seasonal movement and may eliminate the squeak without any mechanical repair.
How to locate the squeak precisely
Walk the floor slowly and mark each squeaky spot with a piece of painter's tape. Note whether the sound is isolated to one small area or runs along a line, which usually follows a joist. Have another person walk while you listen from below if you have basement or crawl space access. From below, you can often see a gap between the subfloor and a joist by shining a flashlight along the underside while someone steps on the floor above.
On carpet, the squeak almost always comes from the subfloor, not the carpet itself. On hardwood, it may come from the boards themselves or from the layer below. Press down firmly on adjacent boards one at a time to narrow the spot to a single plank or seam.
Step-by-step repairs
Choose the method that matches your access and floor type. Start with the least invasive approach and work toward more involved fixes only if the squeak persists.
Try lubrication first on hardwood floors
Sprinkle powdered graphite or talcum powder into the seams between the squeaky boards. Work it in by placing a cloth over the area and stepping back and forth to drive the powder into the joint. This works when boards are rubbing at their edges and no structural movement is involved.
Drive screws from below (basement or crawl space access)
Use a stud finder or visually locate the joist nearest the squeak. Have a helper stand on the squeaky spot above. From below, drive a 1.5-inch wood screw up through the subfloor into the joist, angling slightly if needed to pull the subfloor tight. Do not use a screw long enough to pierce through the finished floor above. The goal is to close any gap between the subfloor and the joist so the subfloor stops flexing.
Fasten loose hardwood from above
If you have no access from below, use a stud finder to locate the joist beneath the squeaky plank. Drive a finishing nail or a trim-head screw through the face of the hardwood, through the subfloor, and into the joist at a slight angle. Countersink the fastener just below the surface, then fill the hole with a color-matched wood filler. Let it dry and sand flush.
Secure subfloor-to-joist gaps with construction adhesive (from below)
If a gap between the subfloor and a joist is visible but too small to shim, apply a thin bead of construction adhesive along the top edge of the joist where it meets the subfloor. Have your helper stay off that section for at least 24 hours while the adhesive cures. This prevents the subfloor from springing up and down at that point.
Shim a gap between the subfloor and joist
When a visible gap exists between the top of a joist and the underside of the subfloor, cut a thin wood shim to fit. Apply a small amount of construction adhesive to both faces of the shim, then slide it gently into the gap from below. Do not force the shim in or tap it hard. Forcing a shim can lift the subfloor slightly and create a hump in your finished floor above. Push it only until it is snug with light hand pressure.
What you will need
These steps cover common DIY repairs for wood subfloor systems. If your home has a concrete slab, radiant heating in the floor, or a floor covering that is glued down, consult a flooring professional before proceeding.
When to call a professional
Some repairs go beyond what a homeowner should attempt without trade experience. Call a licensed contractor if:
- The subfloor is soft, spongy, or shows signs of water damage or rot
- The squeak spans a large area and is accompanied by visible floor deflection
- You need to cut or sister a floor joist to close a gap
- Permits or inspections are required in your area for structural repairs (check with your local building department)
Driving a screw into a joist incorrectly, or using fasteners that are too long, can cause splits or compromise the joist's load-bearing capacity. When the fix moves beyond surface-level, professional evaluation is worth the cost.
Squeaky floors share something with other household noises: the sound itself is rarely the real problem, but ignoring the underlying cause can let minor issues grow. Much like the way unusual sounds from a car's braking system warrant attention, as covered in our guide to brake squealing, floor noises are worth diagnosing rather than tuning out.

Author
Home & Garden Editorial Team
Home & Garden Editorial Team is the collective byline for our editorial team and contributor network. Articles published under this byline or an editorial pen name are researched, written, and reviewed according to our editorial standards for clarity, consistency, and independence before publication.
View all articles →