
Mountain and Steep Grade Driving: Brake Fade, Gear Use, and Descent Techniques
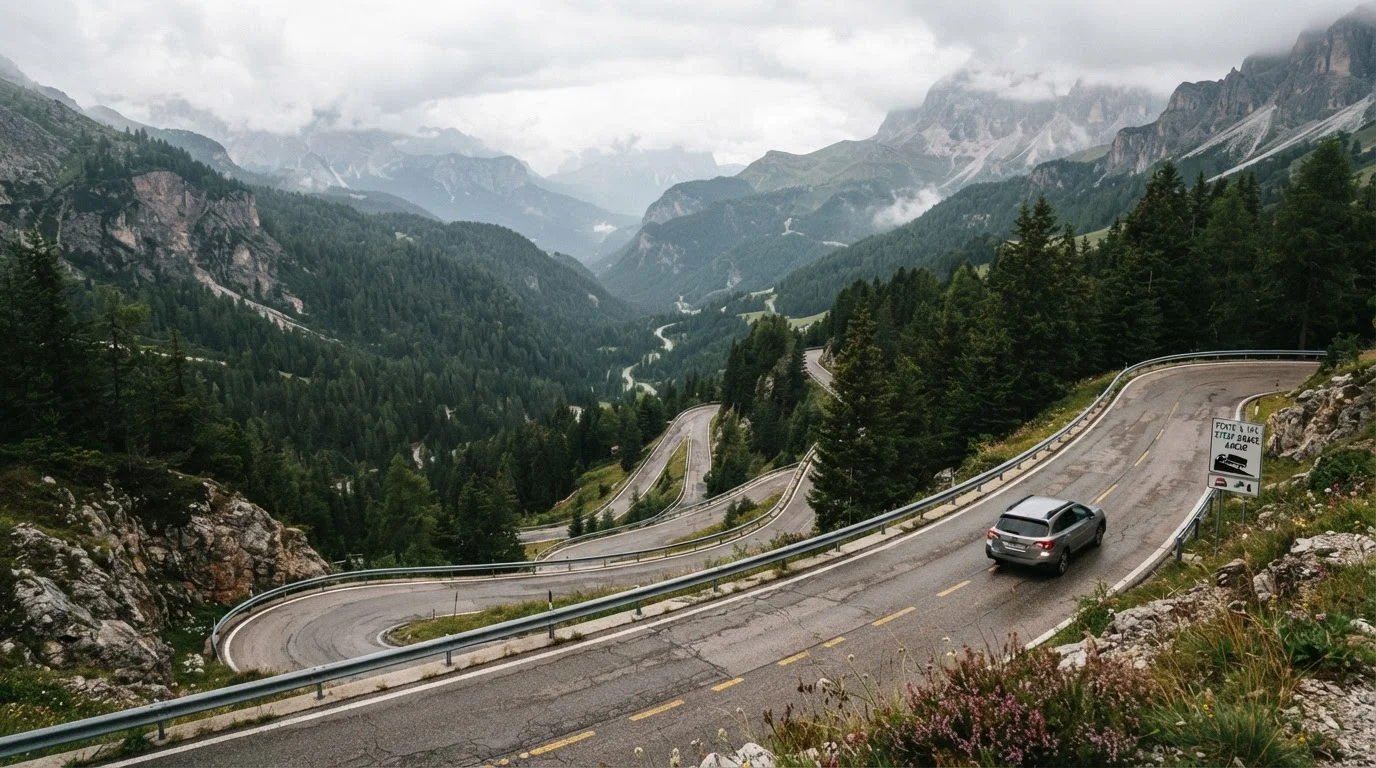
Photo credit: readerspanel.com
In this article
Steep descents stress brakes in ways flat-road drivers rarely experience. Learn the engine braking and speed management techniques for mountainous terrain.
Key Takeaways
- Brake fade occurs when repeated braking overheats rotors and pads, reducing stopping power significantly.
- Engine braking in a lower gear is the primary way to control speed on long descents.
- You should select your descent gear before the grade begins, not after speed has built.
- Runaway truck ramps exist for emergencies; knowing how to use one could save your life.
- Wet mountain roads combine brake stress with reduced traction, compounding risk.
Why mountain driving stresses brakes differently
On flat roads, braking converts speed into heat in short, well-spaced bursts. The brakes cool between stops. On a long mountain descent, a driver who rides the brakes continuously pumps heat into the rotors and pads faster than they can dissipate it. The result is brake fade: a condition where braking force drops noticeably, sometimes dramatically, even as the pedal feels normal.
Brake fade comes in two main forms. Fluid fade happens when brake fluid absorbs enough heat to partially vaporize, creating compressible gas in the lines. The pedal goes soft or spongy. Pad fade occurs when pad material overheats and outgasses, reducing friction between pad and rotor. Both reduce stopping power when you need it most.
A 6% grade, which is common on interstate mountain passes in the American West and Appalachians, means the road drops six feet for every hundred feet traveled. Over several miles, that sustained pull of gravity demands continuous speed management. Relying on friction braking alone on such grades is how brake fade starts.
If you plan to drive routes that include wet mountain roads, understand how traction loss compounds the risk before you go.
How to descend safely: step-by-step
The steps below apply to both automatic and manual transmissions. Where specifics differ, both are noted.
Check your brakes before the trip
Worn brake pads generate heat faster and fade sooner than pads with adequate material. Have a qualified mechanic inspect pad thickness and rotor condition before any trip that includes sustained mountain descents. Most manufacturers recommend replacing pads when they reach 2 to 3 mm of material.
Read grade signs and plan your gear before the descent
Warning signs for steep grades appear before the grade begins, typically stating the percentage and distance. A 7% grade over 6 miles is a different challenge than a 4% grade over half a mile. Decide which gear you will use while you are still on level ground or a moderate slope. On an automatic, select a lower gear range (L, 1, 2, or the paddle-shift equivalent) before the descent steepens. On a manual, downshift before speed builds.
Use engine braking as your primary speed control
Engine braking means using the resistance of the drivetrain to slow the vehicle rather than friction brakes. In a lower gear, the engine turns faster than it would at the same road speed in a higher gear, and that resistance transfers to the wheels. On a steady grade, a properly selected gear can hold speed near a target without any brake input at all.
For most passenger vehicles on a 6 to 8% grade, second gear (manual) or the 2 or L range (automatic) holds speed in the 20 to 35 mph range without brake use. Test the effect early on the descent and adjust before speed builds.
Apply brakes in firm, brief intervals rather than continuously
When braking is needed, press the pedal firmly to scrub speed, then release fully to let the rotors cool. Interval braking avoids the sustained heat buildup that causes fade. A common approach is to slow to a target speed (say, 30 mph on a switchback section), release the brakes completely, let engine braking hold that speed, then brake again if speed creeps up.
Manage speed through curves before entering them
Mountain switchbacks require you to be at your target speed before turning in, not during the turn. Braking while cornering shifts weight and reduces the traction available for steering. Slow to the appropriate speed on the straight approach, then release the brakes and let the vehicle track through the curve under engine braking or light throttle.
Allow brakes to cool before stopping at the bottom
After a long descent, brake components are hot. Parking immediately and leaving the vehicle stationary can cause the pads to transfer material unevenly onto the rotors, creating brake judder (vibration during braking) later. If conditions allow, drive at a gentle speed for one to two minutes after the grade ends before stopping. This lets airflow continue cooling the rotors evenly.
Vehicle owner's manual
Identifies the correct gear ranges and tow/haul or engine-braking settings specific to your vehicle.
Tire pressure gauge
Confirms tires are properly inflated before a mountain drive, since underinflation increases heat buildup during braking.
Brake inspection record
Confirms brake pad thickness and rotor condition are adequate before tackling steep grades.
Recognizing warning signs and emergency options
If brake fade has already started, the pedal may feel mushy, the vehicle may pull to one side, or you may smell burning material from the wheel wells. At that point, riding the brakes harder will worsen the situation.
Drop to the lowest safe gear immediately and give the brakes time to cool. If control is lost, most mountain highways in the U.S. post signs for runaway truck ramps, also called escape ramps. These are gravel or sand-filled lanes designed to stop a vehicle quickly without friction braking. Using one will likely damage your vehicle, but it can prevent a far worse outcome. Do not hesitate.
Driving mountain terrain shares some mental demands with high-stress highway environments. The adjustment drivers make between highway and city driving involves similar habits of anticipation and speed management that transfer well to mountain routes.
Passengers or cargo add weight, and weight increases braking demand on every descent. If you are towing, consult your vehicle's tow rating and use tow/haul mode if available. The physics involved are the same as those behind the stopping-distance problem in tailgating: more mass means more distance and time required to stop.

Author
Automotive Life Editorial Team
Automotive Life Editorial Team is the collective byline for our editorial team and contributor network. Articles published under this byline or an editorial pen name are researched, written, and reviewed according to our editorial standards for clarity, consistency, and independence before publication.
View all articles →