
Composting at Home: A Complete Overview From Pile to Garden Bed
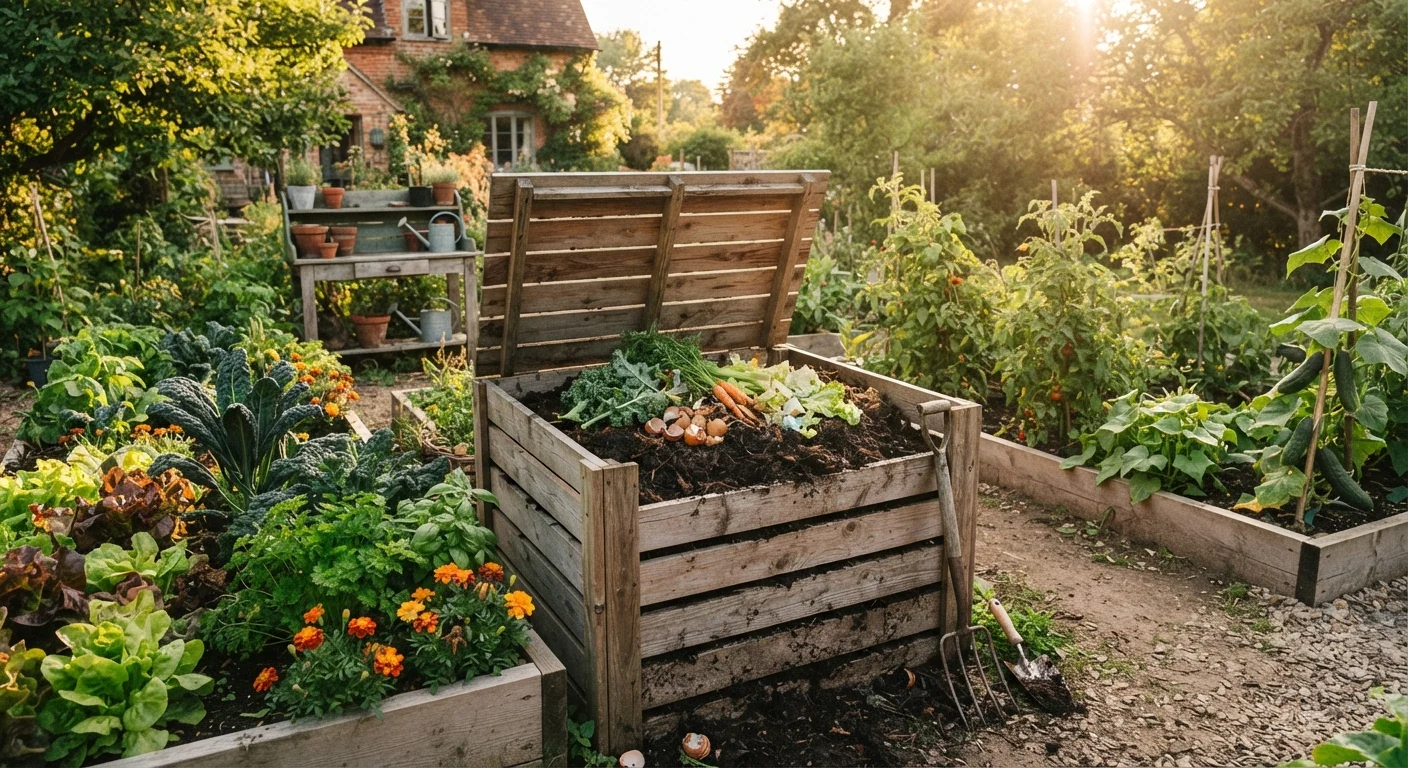
Photo credit: readerspanel.com
In this article
Everything you need to know about composting: what to add, how to manage heat and moisture, and how to use finished compost in your yard.
Key Takeaways
- A healthy compost pile needs a balance of carbon-rich browns and nitrogen-rich greens.
- Moisture and aeration are the two factors most likely to stall decomposition.
- Finished compost smells earthy, looks dark and crumbly, and contains no recognizable scraps.
- Compost can be used as a soil amendment, mulch, or lawn top-dressing.
- Cold composting takes longer but requires far less maintenance than hot composting.
What composting actually does for your soil
Compost is decomposed organic matter. When you add it to garden beds or lawns, it improves soil structure, feeds soil microbes, and slowly releases nutrients that plants draw on throughout the growing season. Sandy soils hold water better after compost is worked in; dense clay soils drain more freely. These are mechanical changes that synthetic fertilizers cannot replicate.
Beyond texture, compost supports the microbial communities that make nutrients available to plant roots. A teaspoon of finished compost contains billions of bacteria and fungi. That biological activity is what separates compost from a bag of granular fertilizer.
If you already amend your beds in autumn, compost fits naturally into that workflow. See fall garden prep tips for a seasonal checklist that pairs well with a fresh compost application.
Choosing a composting method
Two broad approaches suit most home gardens: cold composting and hot composting.
Cold composting means piling organic material and letting it break down on its own, with minimal intervention. It can take six months to two years, but the labor is low. A simple three-sided wooden bin or a purchased plastic tumbler both work for this method.
Hot composting involves building a pile large enough (at least 3 feet in each dimension) to generate internal heat above 130 degrees Fahrenheit. At those temperatures, decomposition speeds up significantly and most weed seeds are killed. Hot composting requires turning the pile every few days to maintain oxygen levels, but you can have finished compost in four to eight weeks.
A third option, vermicomposting, uses worms to process kitchen scraps in a contained bin. It works well indoors or in small outdoor spaces, making it a practical choice for anyone gardening on a patio. Container gardeners often find a worm bin fits their scale better than an outdoor pile.
What to add and what to leave out
A functional pile combines two categories of material.
- Browns (carbon-rich): dry leaves, cardboard torn into small pieces, newspaper, wood chips, straw, paper bags.
- Greens (nitrogen-rich): vegetable and fruit scraps, coffee grounds, fresh grass clippings, plant trimmings.
A rough ratio of two to three parts browns to one part greens by volume keeps decomposition moving without creating a slimy, odorous pile. If the pile smells like ammonia, add more browns. If it stalls with no visible breakdown, add greens.
Some materials do not belong in a home compost pile. Meat, fish, bones, and dairy attract pests. Dog or cat waste can carry pathogens that survive cold composting temperatures. Diseased plant material can reintroduce problems to your garden. Glossy or coated paper breaks down too slowly to be useful.
Chop materials before adding them
Smaller pieces decompose faster because they expose more surface area to microbial activity. Shred dry leaves, cut vegetable scraps into rough chunks, and tear cardboard into hand-sized pieces before adding them to the pile. This one habit can cut decomposition time noticeably.
Managing heat, moisture, and aeration
The pile should feel about as damp as a wrung-out sponge. Too dry and microbial activity stops; too wet and the pile turns anaerobic and smells. In dry weather, water the pile lightly when you turn it. In wet seasons, cover the top with a tarp or a layer of cardboard to shed excess rain.
Turning the pile introduces oxygen, which aerobic microbes need to function. For cold composting, turning once a month is enough. For hot composting, turn every two to three days and check the internal temperature with a compost thermometer. The pile should heat between 130 and 160 degrees Fahrenheit in the center. Once it stops heating after turning, the active phase is complete.
Pile size matters for heat retention. A pile smaller than 3 feet across will not hold enough thermal mass to stay hot in cool weather. In autumn, insulating the outside of a hot pile with straw bales can extend the active season before the ground freezes.
Recognizing finished compost
Finished compost is dark brown to black, crumbly in texture, and smells like forest soil, not like the original scraps. You should not be able to identify any individual material in it. If you can still see eggshells or cardboard, the compost needs more time.
A simple test: fill a small sealed bag with a handful of compost and leave it for three days. If it smells foul when opened, decomposition is still active and the compost is not ready. Earthy smell means it has stabilized.
Unfinished compost applied directly to a garden bed can temporarily tie up nitrogen in the soil as microbes continue breaking down carbon. This can slow plant growth in the short term. If you are not sure whether compost is finished, let it cure in a separate pile for four more weeks before use.
How to use compost in your yard and garden
Finished compost has several applications in the home landscape.
Soil amendment: Work 2 to 3 inches of compost into the top 6 to 8 inches of a bed before planting. This is the most direct way to improve soil structure and feed the microbial community plants rely on.
Mulch layer: Spread 1 to 2 inches of compost around established plants as a surface mulch. It suppresses some weeds, retains moisture, and slowly incorporates into the soil with rain and earthworm activity.
Lawn top-dressing: Sifted, fine-textured compost spread thinly over a lawn in spring or fall feeds the grass without smothering it. Use a quarter-inch layer and rake it into the grass blades so it reaches the soil surface.
Compost also pairs well with cover crop rotations in vegetable gardens. Cover crops and compost together build organic matter faster than either practice alone, particularly after a heavy-feeding summer crop has exhausted the soil.
This article is for general informational purposes only. Local conditions, climate, and soil type vary. Consult your local cooperative extension service for guidance tailored to your region.

Author
Home & Garden Editorial Team
Home & Garden Editorial Team is the collective byline for our editorial team and contributor network. Articles published under this byline or an editorial pen name are researched, written, and reviewed according to our editorial standards for clarity, consistency, and independence before publication.
View all articles →