
Seed Starting Indoors: Timing, Light, and the Transition to Outdoor Beds
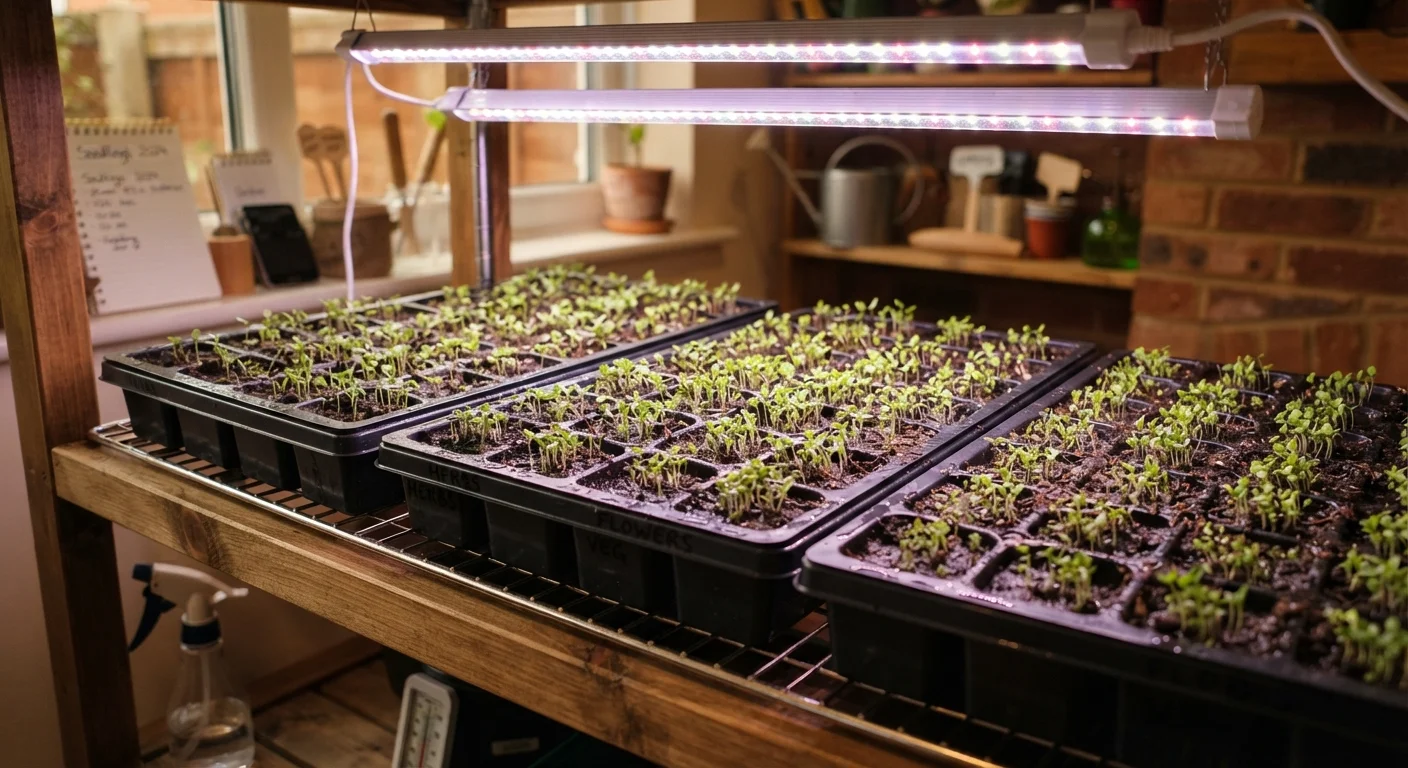
Photo credit: readerspanel.com
In this article
Starting seeds indoors gives you a head start on the growing season. Learn how to time germination, manage light, and harden seedlings off safely.
Key Takeaways
- Count backward from your last frost date to find the right indoor start date for each crop.
- Most seedlings need 14 to 16 hours of light per day; a south-facing window alone rarely delivers enough.
- Hardening off takes 7 to 14 days and must not be skipped, or transplant shock can set plants back weeks.
- Overwatering and insufficient light are the two most common reasons indoor seedlings fail.
- Seed-starting mix, not potting soil, gives germinating seeds the drainage and aeration they need.
Why timing is the foundation of indoor seed starting
The date you sow indoors should be calculated backward from your area's average last frost date. Most seed packets list a "weeks before last frost" window. Tomatoes and peppers, for example, typically need 6 to 8 weeks indoors. Cucumbers and squash need only 3 to 4 weeks because they grow fast and suffer if root-bound.
Starting too early produces leggy, overgrown transplants that are harder to establish outdoors. Starting too late wastes the potential gain you were trying to create. Write your target sow dates on a calendar before you buy anything.
Crops also differ in whether they prefer to be direct-sown outdoors rather than transplanted. Root vegetables like carrots and beets do not transplant well at all; indoor starting makes no sense for them. Focus indoor space on crops that genuinely benefit: tomatoes, peppers, eggplant, most brassicas, and annual flowers such as petunias and impatiens.
Once your beds are ready in spring, having well-timed transplants on hand makes the whole season easier to manage. See our fall garden prep guide for advice on getting beds ready before winter so the soil is workable when transplant time arrives.
Managing light for healthy, compact seedlings
Light is where most indoor seed starting fails. A south-facing window in a northern state delivers weak, angled light in February and March, and seedlings respond by stretching toward it. The result is "leggy" growth: tall, thin stems that cannot support the plant once it goes outdoors.
The practical fix is a full-spectrum fluorescent or LED grow light suspended 2 to 4 inches above the seedling canopy. Seedlings need roughly 14 to 16 hours of light per day during the indoor phase. A simple outlet timer removes the guesswork. As seedlings grow, raise the light to maintain the 2- to 4-inch gap.
Light intensity matters as much as duration. Foot-candles and lumens describe quantity; photosynthetically active radiation (PAR) describes the wavelengths plants actually use. Most grow lights marketed for seed starting provide adequate PAR, but cheap decorative LED strips often do not. Check manufacturer specifications before buying.
If you rely on a window, rotate trays a quarter turn each day so stems grow upright rather than bending toward the glass. Even with rotation, window-started seedlings in low-light climates often need supplemental lighting. For broader context on how light affects plant selection indoors, our guide to matching indoor plants to your light conditions covers the same principles from a different angle.
Keep grow lights on a timer
Consistent light duration matters more than intensity for compact, even growth. Plug your grow light into an outlet timer set to the same 14- to 16-hour window every day. Manual switching is easy to forget, and irregular photoperiods can slow growth or cause uneven development across a tray.
Steps to start seeds and move them outside
Follow the steps below in order. Each one sets up the next, so skipping a stage typically creates problems that compound later.
Calculate your sow dates
Find your area's average last frost date, then count backward using the weeks listed on each seed packet. Write the date on the packet or a calendar. Group seeds by their sow date so you can fill trays in batches rather than all at once.
Fill trays with seed-starting mix
Moisten the seed-starting mix before filling cells; dry mix is difficult to wet evenly once seeds are in place. Fill each cell to within a quarter inch of the top, then press lightly to remove large air pockets without compacting the mix.
Sow seeds at the correct depth
The general rule is to sow a seed at a depth equal to twice its diameter. Very fine seeds, such as petunias and snapdragons, need light to germinate and should be pressed onto the surface without covering. Check each packet for specific instructions.
Sow two seeds per cell to account for germination failures. Once both sprout, snip the weaker one at soil level with scissors rather than pulling it out, which would disturb the surviving root.
Provide warmth and moisture for germination
Cover trays with a humidity dome and place them in a warm spot. Most vegetable seeds germinate best between 65 and 75 degrees F soil temperature. A heat mat placed under trays can reach this range even in a cool basement. Check moisture daily; the surface should feel damp but not waterlogged.
Remove the dome as soon as the first seedlings emerge. Leaving it on encourages fungal damping-off, a condition where stems rot at the soil line.
Move seedlings under grow lights
Once seeds sprout, shift trays under your grow light immediately. Set the timer for 14 to 16 hours of light per day. Check the gap between the light and the canopy every few days and raise the fixture as plants grow. Fertilize with a dilute, balanced liquid fertilizer once seedlings develop their first true leaves (the second set after the initial cotyledons).
Harden off seedlings before transplanting
Hardening off means gradually exposing indoor-grown plants to outdoor conditions over 7 to 14 days. Start by placing trays outside in a sheltered, partly shaded spot for one hour, then bring them back in. Increase outdoor time by an hour or two each day. By the end of the period, seedlings should tolerate a full day of outdoor sun and temperature swings.
Do not rush this step. Plants grown indoors have thinner leaf cuticles and weaker stems than outdoor-grown plants. Placing them directly in full sun causes leaf scorch and wilting that can take weeks to recover from.
Transplant into prepared beds
Transplant on a cloudy day or in the evening to reduce stress from heat and sun. Dig a hole slightly deeper than the root ball. Tomatoes can be buried up to their lowest leaves because they produce roots along buried stems; most other transplants should go in at the same depth they grew indoors. Firm soil gently around the root ball to eliminate air gaps, then water in well.
After transplanting, water the bed thoroughly and shade transplants lightly for the first two or three days if temperatures are warm or sunny. Most plants establish within a week or two. For guidance on what to do once the season ends, our cover crops article describes how to protect and improve your beds over the off-season.

Author
Home & Garden Editorial Team
Home & Garden Editorial Team is the collective byline for our editorial team and contributor network. Articles published under this byline or an editorial pen name are researched, written, and reviewed according to our editorial standards for clarity, consistency, and independence before publication.
View all articles →